Don’t Ignore These Common Signs of a Plumbing Leak

Plumber inspecting under sink plumbing with tools and hoses, emphasizing leak detection and repair services.

Every homeowner dreads finding a plumbing leak but many leaks go undetected for longer than they should, causing dangerous and costly damage. Some plumbing leaks are very obvious but others are more subtle. Often, homeowners may not notice tell-tale signs of a leak until it is too late and the damage is significant. Professional plumbers not only know the signs to look for, but they also have sophisticated professional tools that can help detect hard-to-find plumbing leaks such as leaks under your home’s slab.

Common Signs You Have a Plumbing Leak

High Water Bills

A higher-than-normal water bill is one of the most common signs you have an undetected leak. If you see a particularly high water bill or start to see that your water bills are consistently increasing, you may have a leak inside your walls or under your concrete slab.

Other common symptoms of a plumbing leak include:

  • signs of mold and mildew (small and/or visual)
  • hearing the sound of running water, discolored drywall and/or flooring
  • wet/spongy feeling carpet
  • foundation cracks.

When you notice any of these signs, it is important to find the source and repair it as quickly as possible. 

Slab Leak Repair Options

High-quality professional plumbers like Second Opinion Plumbing have special leak detection tools including line locators and digital sound locators. If something like a slab leak is detected, one repair option is demoing a portion of the concrete and patching the pipe, however, this is not an optimal repair because more leaks could develop over time. For an optimal, more long-lasting repair, rerouting a plumbing line is often recommended because it will cause minimal damage to your drywall and your homeowner’s insurance may even cover the costs.

Why Call a Professional Plumber?

If you are concerned you have a plumbing leak, don’t wait! Water damage rapidly grows and can cause costly and dangerous damage – speak to a professional plumber to learn more about leak detection and repair options for your home! Call Second Opinion today!

Top 6 Reasons Why Your Faucets Are Leaking

faucet running

Leaky faucets are a problem for many homes and businesses. It is quite common around households, as people struggle to fix the leaking faucet. In some cases, the problem will be exacerbated. Every year, households waste about 10,000 gallons of water due to dripping faucets.

Some individuals may overlook leaks, but dripping faucets will damage a house in many ways. Moreover, it is an annoying problem that may lead to many underlying issues. Hence, people should identify the problem as quickly as possible and avoid any disastrous troubles.

What Causes Faucets To Leak?

Leaking water causes utility bills to skyrocket. People may notice a sudden spike in their monthly bills which will cost them money in the long run.

1. Worn-out O-ring 

In a plumbing system, cartridges control the flow of the water. It is a valve placed in primary connections. O-rings are small rubber discs attached to the stem screws. These rubber rings hold the handle of faucets in place. Therefore, leaking sinks may indicate that there is a problem with O-rings. Worn-out or damaged discs allow water to overflow from the faucet.

2. Damaged cartridge 

If the leak is originating from the faucet’s end, it indicates a damaged cartridge. The entire set can get corroded over time when it comes in contact with water. People should replace the damaged cartridge to prevent any leaks. One must make sure to replace the cartridge set with an identical cartridge.

3. Corroded valve 

The valve set connects the faucet and spout. After many years, the buildup of water sediments will corrode valve sets. This causes a leak and leads to more disastrous problems. People can avoid this problem by regularly cleaning their valve set. Make sure to hire professionals with specialized training to fix a corroded value.

4. Washers 

Another common reason for leakage is damaged washers. The friction between metal parts in the plumbing system will wear out the washers. Faucet leaks indicate that there is a damaged washer in the system. Occasionally, incorrectly installed washers will also have poor compression and cause leaks.

5. Loose parts 

Modern faucet sets will have many small parts that may wear out over time. This problem affects the efficiency of systems and causes leakage. Loose parts should be addressed quickly and replaced to avoid more problems. Call professionals and replace them with loose parts with new seals.

6. Water pressure 

Faucets tend to drip during certain times. Water pressure is another common concern for this problem. High water pressure is the culprit for leaks in the daytime. In such cases, homeowners should hire professionals to evaluate the leakage and determine the underlying cause of an issue. They can fix the home’s water pressure.

How to fix a leaky faucet? 

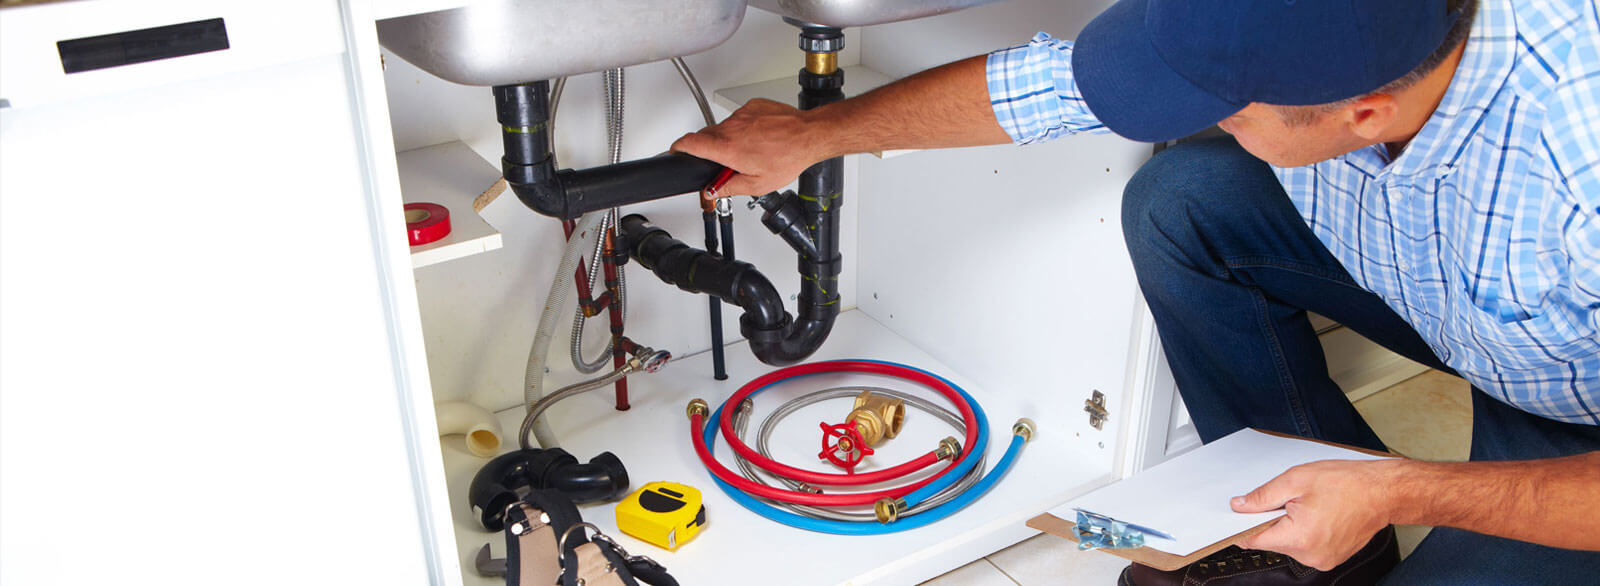
Repairing leaky faucets should be done as soon as possible to save money on water bills and other damages. People should identify the cause of a leak and call for professional help. The plumbers are equipped with tools and resources to fix the problems. In some cases, people may even choose DIY repairs.

What Are The Different Types of Faucets

First, people should find out the type of faucet they have in their bathroom or kitchen. There are different types of faucets, like single-handle and modern pull-down or a twisted ball faucet. Based on the type of faucet, the repair steps will vary.

Step-By-Step Leaky Faucet Repair

Once the main water supply has been shut off, make sure to shut off any individual valves and turn on the faucet to drain any remaining water in the sink.

After this step, unscrew the faucet handle with an Allen wrench or hex key. Make sure to use a flat screwdriver to remove the top screw cover. The Phillips Head screwdriver is suitable for all types of faucets. Once the screws are removed, the faucet can be separated from the main installation. People should remove the faceplate and separate the handle from the wall. Unscrew any metal sleeves from the valve with a locking clip.

The faucet stem is found in most old-fashioned-style bathrooms. This part helps to regulate the flow of hot and cold water in the bathroom. Loosen the packing nut in the handle assembly and set aside the part. Pull the cartridge from the main assembly and gently set it apart.

After knowing the cartridge and stem type, it becomes easy to find the replacement part. However, people should contact the faucet manufacturer and have their recommendation to replace the part. Reattach the cartridge or stem in the assembly and align the new faucets correctly.

Remember to contact Second Opinion Plumbing for all your faucet plumbing needs.

Tenant Improvement Bathroom Installation

Whether you own or manage one rental property or multiple, you know that a beautiful bathroom can attract more interested tenants as well as higher rent, and a working bathroom is simply a must when someone is occupying your property.  Staying on top of tenant bathroom maintenance and repairs can be time-consuming but neglecting it can be extremely costly which is why you want to install and maintain a tenant bathroom that you can be proud of and that is easy to maintain which is why having a reliable professional plumber is essential!

When it comes to tenant bathrooms, there are a few priorities that every owner or manager should have – functionality, cleanliness, and aesthetic appeal. Your tenant bathroom improvements may include new fixture installation, sewer cleaning, sewer repair, clogged or malfunctioning toilets, water pressure problems, drain cleaning, and leak detection. If interested in or considering a bathroom remodel, a professional plumber can evaluate your existing bathroom and, using their experience and knowledge, help you design a bathroom that is both functional and appealing in accordance with today’s standards and preferences.

Having a functional and beautiful bathroom is incredibly important in the world of rental properties.  Tenants expect their living space to be habitable at a minimum, and having a beautiful and efficient bathroom is icing on the cake for both them and you. When your tenant’s bathroom plumbing works correctly and efficiently, you will save money on utilities as well as prevent larger and more costly problems from arising.  Have peace of mind and happy tenants with a beautiful and fully operational tenant bathroom by hiring professional plumbers for your tenant bathroom improvement and maintenance service needs.

What are the steps in bathroom installation?

A bathroom makeover is an easy way to attract more tenants. However, landlords should consider various factors before actually starting this project. First, they should take time to plan out the process and decide on a budget. It is essential to control the expenses, as it should provide positive returns over long term. In that sense, work with a professional to plan out an average total cost for a bathroom installation or renovation. Most landlords may opt for DIY projects. But, they should not settle for this choice without any prior experience or renovation skills. There are many ways to approach a bathroom installation project.

For instance, people should find the best color schemes for this bathroom and plan it ahead in time. Make sure to test the new color in an existing space to avoid any expensive reworks later. Another important consideration is replacing appliances and fixtures. They may opt to install a new sink or replace existing ones. It is vital to consider the project time and budget to make this choice. More importantly, find out the location of electrical wiring and plumbing pipes before doing renovation. Location of these utilities is crucial to avoid expensive repairs and ensure a seamless installation process.

Demolish

The first step in any bathroom installation is demolishing the existing ones. It gives people the space to work freely. Start by removing old or stained drywalls using pry tools. Make sure to wear safety goggles and other protective gear when working on demolish. One should also arrange for dumpster services to haul the garbage from the site. Dust control is another vital consideration during demolition. Finally, work on the vanities, mirrors, floor tiles, and bathroom cabinets. It is always better to remove the baseboards and have them reinstalled to get the new tile flooring.

Installation

Once the demolition process is finished, landlords can start on the installation of their new fixtures. Shower replacements or tub installations should be arranged, along with the current tubs. Moreover, check for signs of rotting woods in the subfloor and have them replaced promptly. Water damage is another sign that floorboards need a new reinstallation. Once the base works are done, one can focus on installing new fixtures for their bathroom. For most parts, this work is best left to professionals. They have the best tools and resources to renovate the bathroom and install new lighting features. It is also essential to replace the power outlets of there are any damages.

Cleaning

After all the works are completed, it is now time to haul the junks with the use of dumpsters. Landlords should understand the local guidelines for removing garbage and should stay compliant with them to avoid any heft penalties.