How to install a tankless water heater
7 steps guide to Install a Tankless Electric Water Heater
“Tankless water heaters are popular among homeowners for several reasons. First, it is an efficient way of supplying warm water to their homes. It also takes up less space and contributes to lower utility bills.”
It’s a tankless job, but it has to be done. All joking aside, installing a tankless water heater is a serious task that needs closer attention and some technical knowledge. After all, you’ll need to know numerous codes as well as the proper parts to use. Consider hiring a plumber if you don’t feel up to the task. HOW TO INSTALL A TANKLESS WATER HEATER?
HOW DO YOU SET UP A TANKLESS WATER HEATER?
We understand how expensive it may be to install or replace tankless water heaters. It is possible to install your unit, but we must advise you to proceed carefully. You should only try this if you have extensive experience working with water lines and electrical systems. If your tankless water heater is installed incorrectly, you might face severe damage.
This article will walk you through the process of installing a tankless water heater.
Turn off the circuit breaker and the water supply
Before you initiate the process, turn off the circuit breaker to ensure that the electric wires are not switched on while you work.
The water supply should also be shut off at this time unless you want parts of your home to flood when you replace your old water heater with a new one. Remember that flooding may cause expensive damage, therefore the first step on this list is the most crucial.
Drain Your Old Heater Before Disconnecting It
If you have a tank-type water heater in your house, you will need to drain it before installing a new one. This will require the use of a hose and a container, such as a bucket.
Before removing the old wiring and wall-mounting brackets, loosen the connecting pipes. Throughout this process, make sure not to damage the old wiring or pipes. If they are, they will have to be entirely replaced, which will add to the project’s duration and costs.
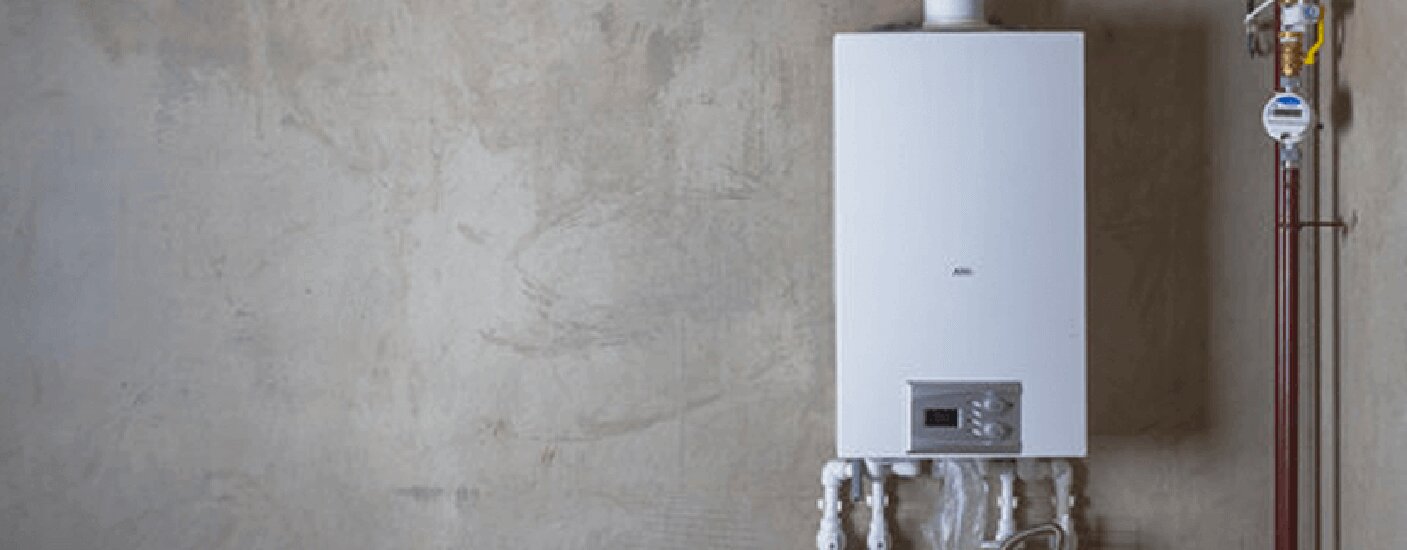
Install the Water Heater
The unit will then need to be placed on a wall. Make sure your water heater is not placed in a messy or filthy part of your home. Having said that, you must have quick access to the unit in case of an emergency. Installing the water heater is straightforward and may be done with a combo of screws and the standard mount. Follow the instructions that came with your unit.
Connect the Unit to the Power and Water Supply
Rinse the dirt out of the cold water supply line. Then connect the water heater outlet to the warm water line. Attach the cold water line to the cold water inlet.
Screw all of the connections on both sides of the heater and turn on all of the hot water taps for 5 min. If you didn’t spot any leaks, continue with the instructions below to connect the unit to a power supply.
Connect the breaker with a black and red wire. However, before connecting the wires, turn off the power to the heater using circuit breakers.
Run the power connection from the circuit breaker (in the central electrical panel) to the water heater by using a wire gauge. Connect the cable to the unit’s block terminal. After fixing each connection, screw in the front panel of your heater.
Bleed the Hot Water System
The water heater must be connected and completely installed at this point in the installation procedure. However, you’ll still want to do the bleeding process before you turn the hot water system on. Each hot water outlet in your house must be opened to help remove any air from the system. Leave these outlets open for several minutes, and then the bleeding should be stopped.
Inspect Electrical Connections Before Attaching Cover
You must check the electrical connections to your water heater to protect your safety and the safety of everyone in your family. Ensure that these connections are correctly wired and connected to the correct terminals. The cover should then be reattached using all of the previously removed screws. The installation is almost complete once the cover has been properly fitted on the unit.
Check the Temperature and test Outlets
Once you’ve turned on the water heater, you’ll need to set the system’s temperature settings. These units can get very hot when set to their highest settings, so it’s best not to use them to prevent burns. At this step, you should test all hot water outlets in your home, including taps, showers, dishwashers, and laundry washers, to ensure that the temperature is suitable and that the water warms up fast. If the water becomes too hot, you should lower the temperature settings.
WRAPPING IT UP
If you go into a task without the proper tools or a knowledge of the work that needs to be done, you’re likely to face problems that will cost you both time and money.
Since tankless water heaters use much less energy and are portable, you should experience this device. Furthermore, if you are unwilling to get a professional to come set it up due to the tankless water heater installation cost, you may do it yourself by following this guide.